night time shooting in Budapest
When I travel, I love to photograph interesting urban scenes after dark. The drama of the light changes these environments and brings an otherworldly look to the scene. When you shoot at night you tend to have pools of light; only certain areas are lit while others are in shadow, bringing a certain mystery that daylight removes.
Though fun to photograph, night scenes can also be quite challenging to do right. I have seen plenty of photos on Facebook or Instagram made with a smartphones that depict a night image of a skyline or cityscape. The problem is they are either incredibly grainy (way too high of an ISO), or they are blurry (too long of a shutter speed). A smartphone can only do so much with low light performance, no matter how good the specs say it is.
I have photographed downtown London, Paris, Amsterdam, Chicago, Budapest, Madrid, Venice and a number of other urban centers. All of these were during the day and at night, each time of day requiring a different method, a different mindset, and often different tools.
On this particular trip to Budapest, I was with my family for a few days’ holiday. It can be an interesting challenge photographing while on family holiday, as most families are not as patient and as committed to the shot as the photographer. My family does usually does very well at giving me small chunks of time to make the image I have in my head. Still, I have to consider them and remember that the day is not only for my own benefit.
I knew that on this particular day we would be staying downtown until after dark and I would get a few chances to make some images. The sky was devoid of any texture that day, so my hope for nice clouds was not going to come through and a shot right around sunset was not of interest to me; the sky would be too dull and boring. I knew that sunset would be at about 7:35pm on this particular day and so I planned to be in the area until about 9 or 10pm.
Earlier in the day we had been walking around downtown and I was making notes on where I wanted to be for the images I wanted to make. I had the map on my Galaxy S6 and made notes as to where the angles, the light, the traffic, and the access would work well for the images I wanted.
(At one point, we were scoping out a possible shooting location just down from the Fisherman’s Bastion not too far from the river. Although the angle was perfect, a construction crane cut right through the view. That was not going to work, so about 20 minutes worth of walking had been for nothing. Such is life with this style of photography. You don't always know what you will get with particular locations, and you might have to try multiple locations before you find the one that gives you the composition that you want.)
I knew that I wanted to make about 5 different images that night, all at different locations around the downtown area along the Danube river. I checked them on the map and put them in order so that we could go from one to the next and not waste too much time. Then all we had to do was wait till the light was right.
You may think this was idle waiting, but it was definitely not. Two things had to happen before I was ready. The first and most important was that I had to make sure my family was comfortable as they could be waiting for me. We stopped by a small shop where we picked up some drinks to go and some small snacks to make the waiting easier. Now on to number two... I had to get my camera ready. On this particular trip I was not able to bring my tripod with me. A tripod is almost a "must have" for night photography, without it you must modify how and where you are making your shot.
Any of you that have shot a few times with a dslr know that hand holding at a slow shutter speed is impossible. You are right, it is, and that is why I was not hand holding the camera.
How I got the shot
Composition- Being that I did not have my tripod with me on this occasion I was going to be limited and had to get creative with location.. But I was not without options. In the area that I was going to make the image I saw that there was a concrete barrier between the street and the water. Perfect. It was about 30cm wide which was plenty wide for comfort. I placed my camera on that barrier and then I had to get my composition just right. I did this with the aid of the swivel up screen on the back of my Sony a7r2 and by placing a lens cap under the lens to lift the angle of the camera slightly. With only that adjustment I had the look I wanted. Being that I had scouted out the location earlier I knew the image would have a nice diagonal through the scene with the river and the buildings and that the angle of the image would be great. Scouting is a very important part of enjoying this style of photography.
Camera settings- I was shooting at night but I didn’t want to use a high ISO as I wanted to keep crisp detail in all the right places without the grain that high ISO will introduce. I wanted to shoot no higher than 200 ISO. I also would be shooting across the river and the water was to be in the shot, and I wanted the water to be fairly fluid. This meant a slow shutter speed was ok and actually desirable. Exactly what shutter speed was yet to be determined. I wanted to shoot at about an f 7.1 or so to keep the depth of field fairly deep. So my biggest variable was going to be the shutter speed which I wanted to keep to between 15 and 25 seconds. From here it was a trial and error game to get the exact exposure I wanted. I think within 3 trial shots I was dialed in.
2 more tips- A few more things to think about when shooting without a tripod: #1 Once the camera is in place, I don't want to disturb it while the shutter is open. I like to use the onboard timer either in 2 second or 10 second delay. This ensures that I have my hands off the camera before the shutter opens. #2 Another thing I can use with the Sony is to put it into "silent" mode which eliminates the mechanical shutter, therefore eliminating the vibration the shutter can cause. On a typical dslr with a mirror you could choose to lock up the mirror which will also reduce the vibrations, resulting in a sharper and cleaner image.
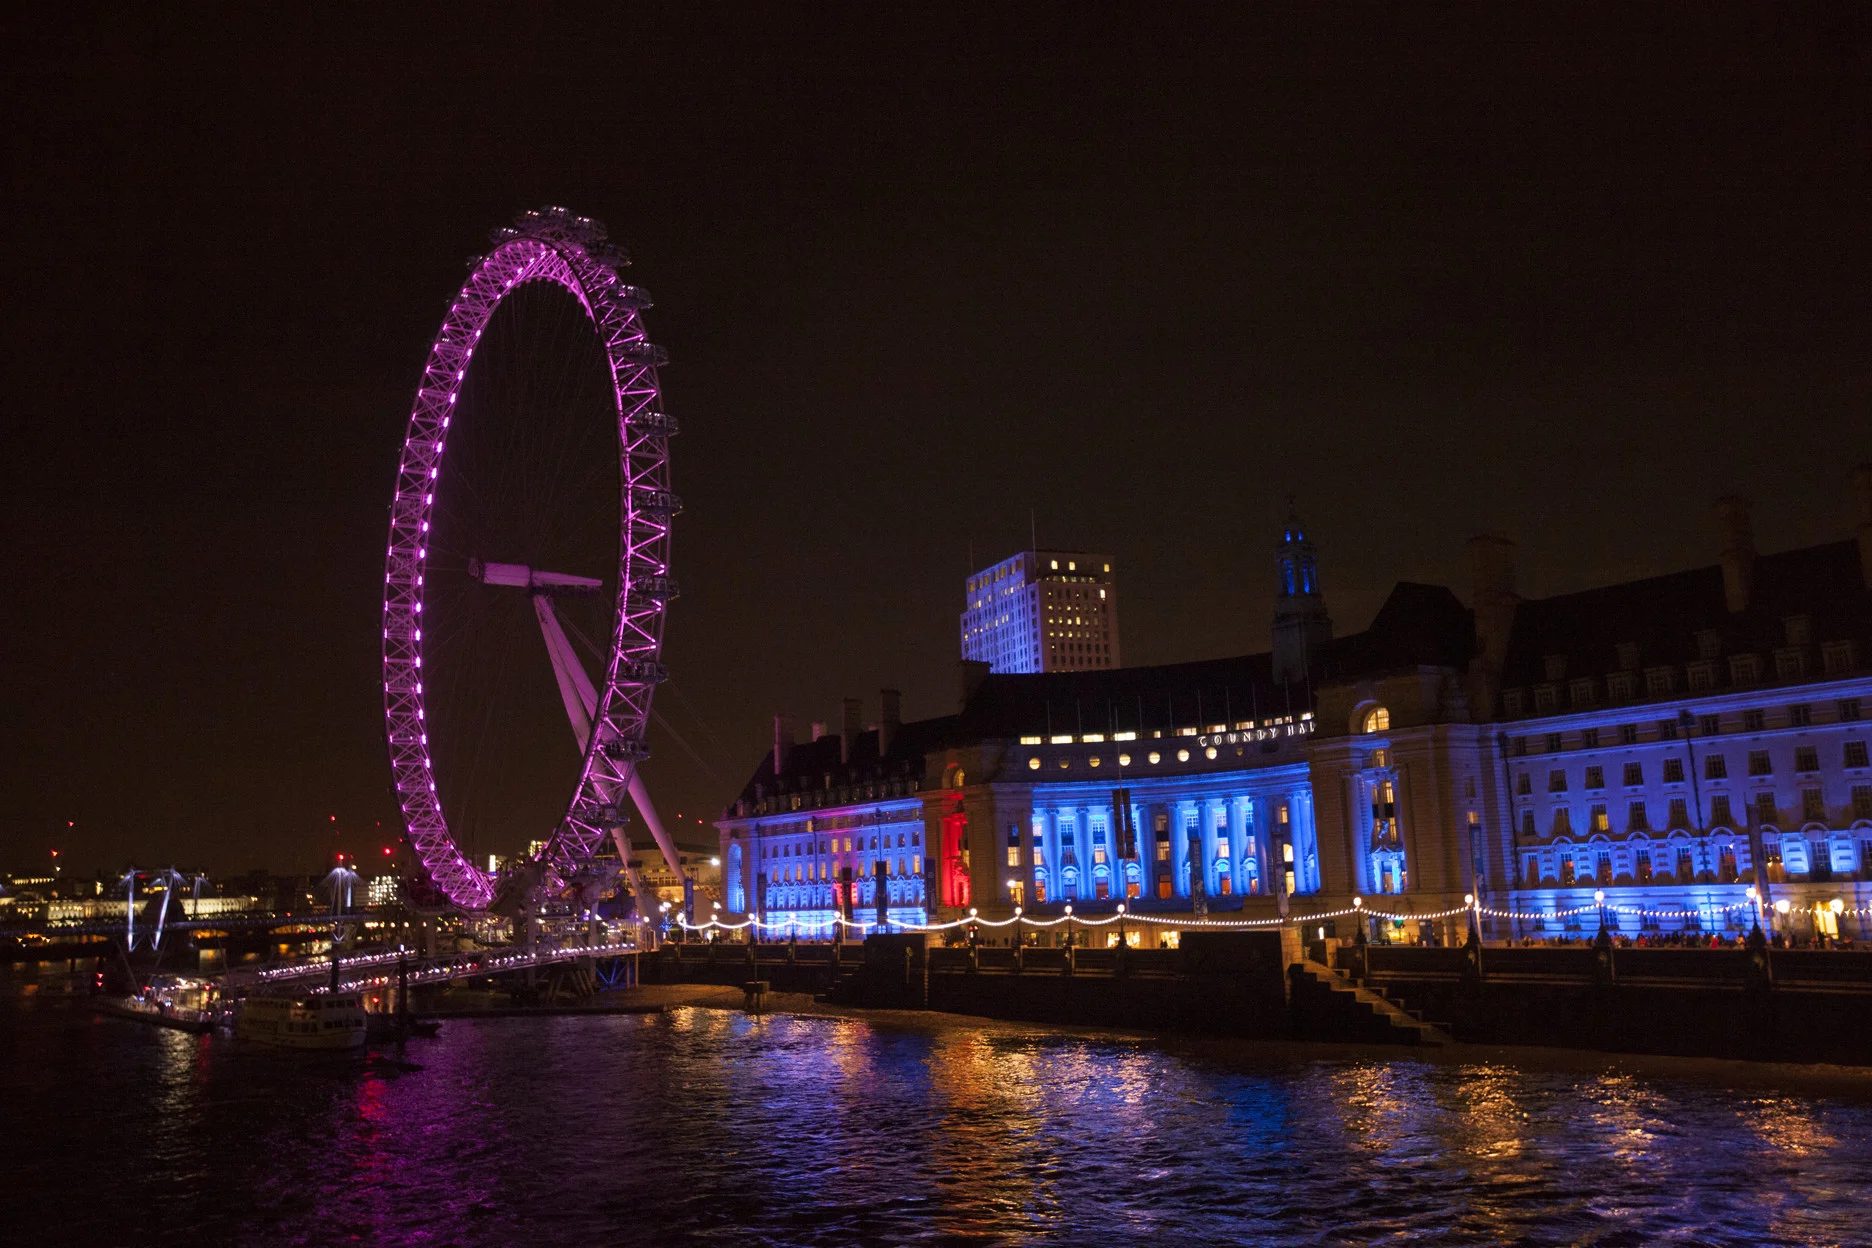
Here are a few more night images I have made on my travels. Feel free to email me with any questions you may have.
Paris, 2012
Venice, 2015
London, 2016
Chicago, 2017


